How to attach a camera strap
Updated on
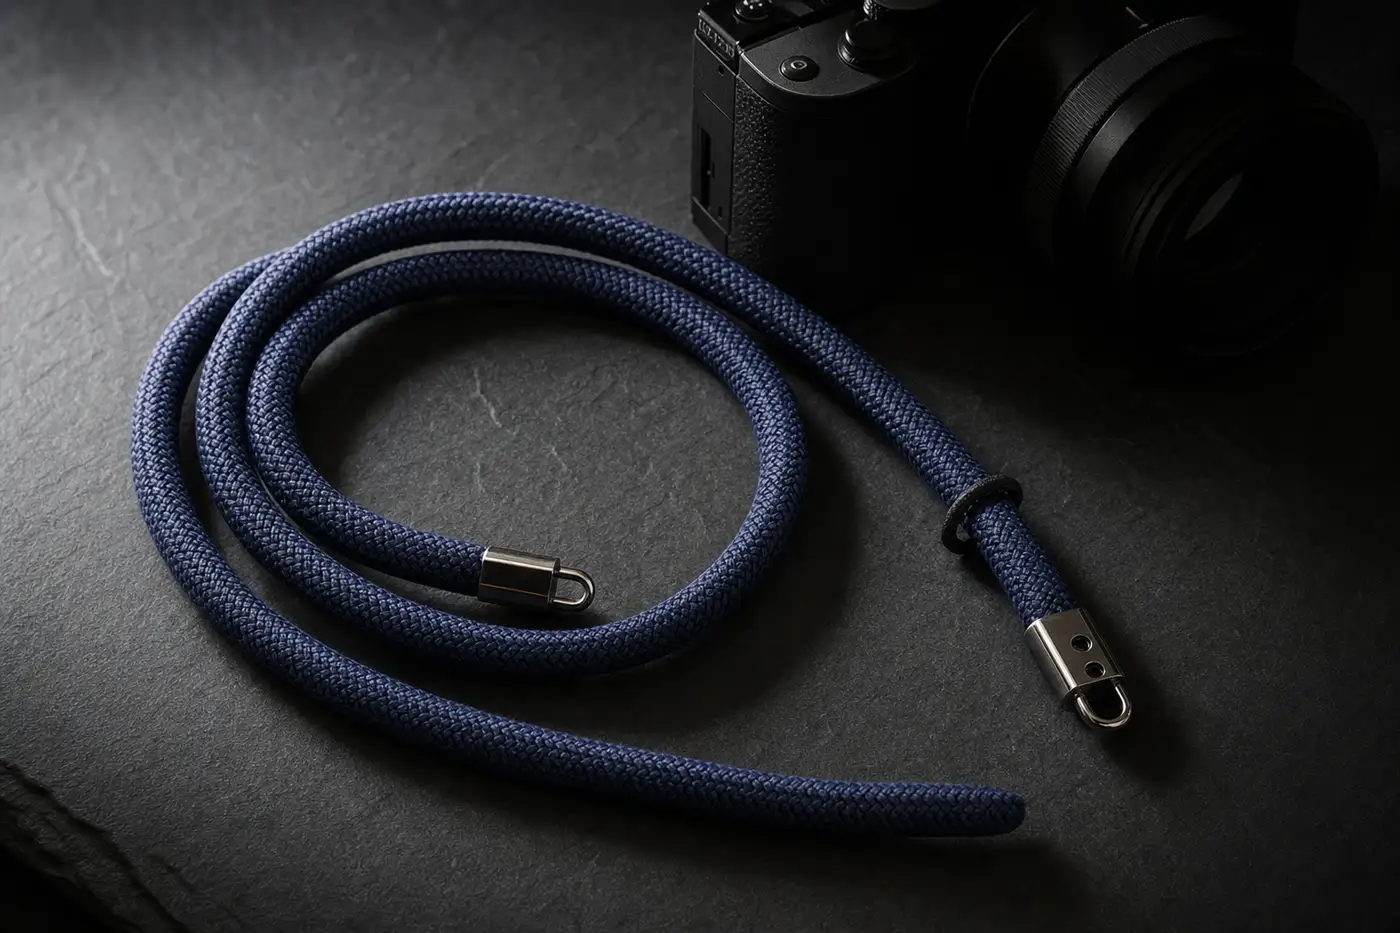
Nobody teaches you this. You buy a body, it arrives with a branded nylon strap already threaded through the lugs, and you never think about the knot again until the day you want something different. Then the strap comes off, the little plastic keeper falls on the floor, and you are holding two ends of webbing with no idea which way they were supposed to go.
The good news is that there are only two systems in wide use, and neither one is complicated once you have seen it done. One threads a wide band directly through the metal loops on the body. The other uses a thin cord as an intermediary, so the strap itself can come off in a second. What follows is the way I do it on my own bodies, the checks I run before I let a camera hang, and the specific failures I have seen in the field.
The two systems you will meet
Every camera sold with a strap uses some version of the first system. It is simple, it has no moving parts, and it is strong because the band shares the load across a wide surface. The trade off is that removing it takes a minute of fiddling with plastic keepers, so in practice most people leave it on forever.
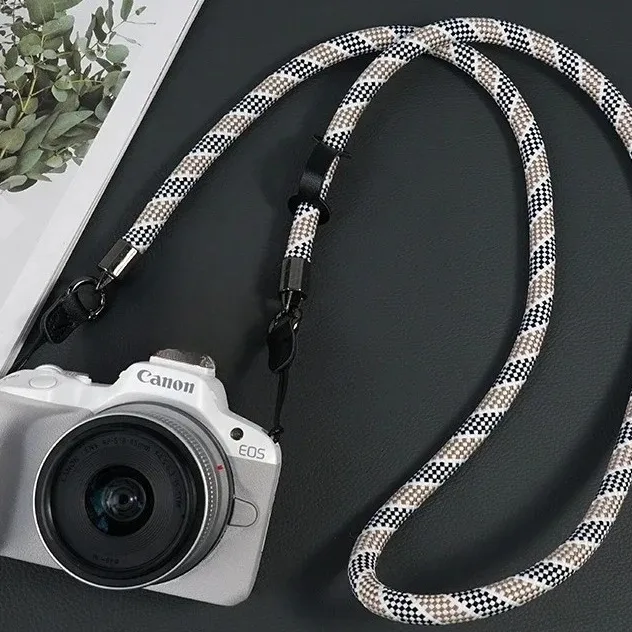
The second system exists because photographers got tired of that. A short cord stays tied to the body and never comes off. The strap clips to the cord through a metal ring. Swapping straps, or dropping the strap entirely before mounting on a tripod, becomes a two second job. Our braided rope models ship with that kit in the box: two looped cords, two flat perforated tabs and three split metal rings.
digital cameras shipped worldwide in 2025, the highest total since the pandemic
— CIPA shipment data, via DPReview, 2026
That number matters here for one reason. A lot of bodies are new to their owners right now, and a new body means a new strap decision. If you are still choosing, the comparison on our how to pick a camera strap page is a better starting point than a top ten list.
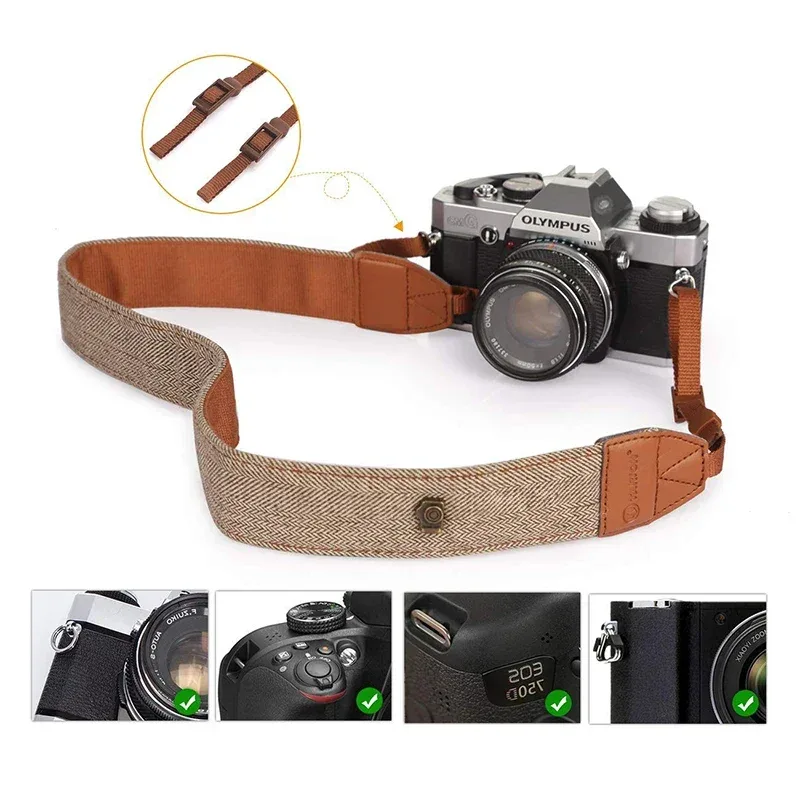
Attaching a wide cotton band with leather tabs
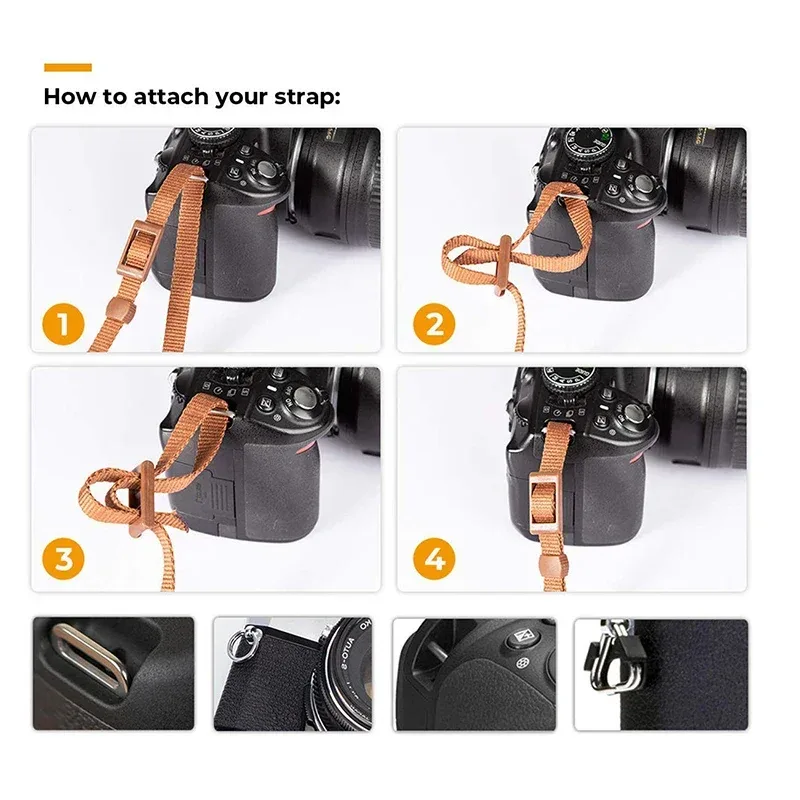
Do one side at a time and leave the second side loose until the first is finished. It is much easier to judge length when only one end is fixed. Pull the band through from the outside of the body toward you, not from the inside out, because the tab needs to sit flat against the strap and not against the camera housing.
Once both ends are through, hold the camera by the strap at chest height and pull down hard with your other hand on the body. You are not being gentle here. Anything that is going to slip will slip in the first three seconds under real load. Then look at the tabs. Both snaps should be fully closed, and the tail of the band should be trapped under the tab rather than hanging free.
The wide band system is what our cotton and leather strap uses, and it is also what most vintage straps use. That range carries two load figures, both from its load test.
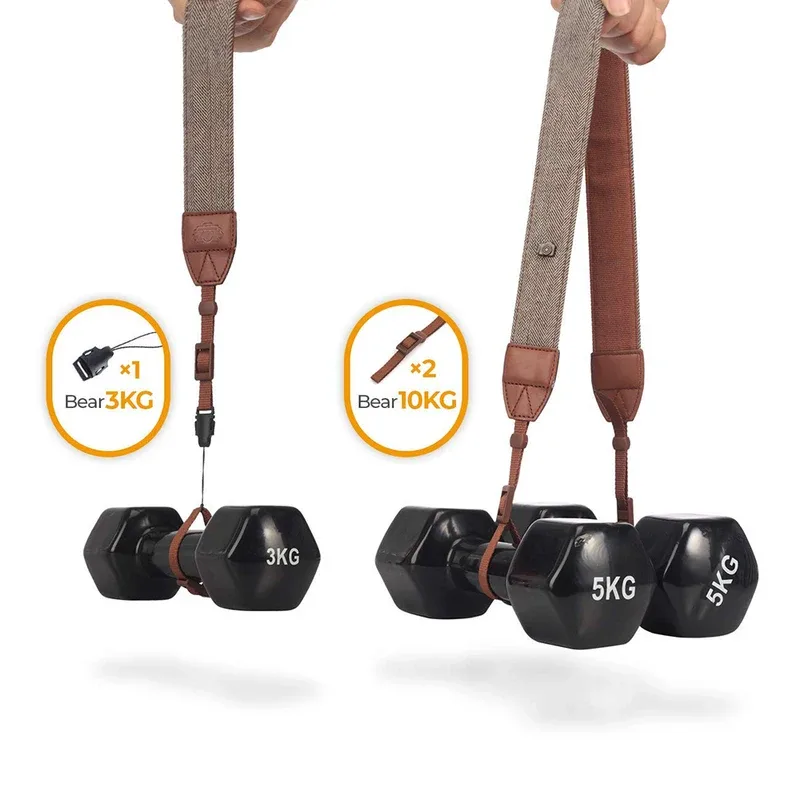
| Attachment method | Measured hold |
|---|---|
| Cotton band, one attachment cord | 6.6 lb (3 kg) |
| Cotton band, both leather tabs | 22 lb (10 kg) |
| Braided rope, ring system | No load figure |
Load figures apply to the cotton and leather range only. The rope range has no load rating.
Attaching a rope strap with cords and split rings
The lark's head is the whole trick. It tightens on itself under load, and it does not need a knot you have to trust. If you have ever hung a luggage tag on a suitcase handle, you have already tied one. Keep it snug against the lug so the cord cannot slide around and chafe on the body's edges.
The split ring is the part people rush. It is a keyring, and it has to be walked all the way around until the tail passes the gap and sits closed. A ring that is only half fed will hold a camera on a table and let go on a staircase. Take the extra five seconds.
The flat perforated tabs in the kit are for bodies where the cord alone sits awkwardly. They spread the cord away from the body so nothing rubs against a screen or a hot shoe. If you shoot a small mirrorless body, the cord route is often the only one that fits at all, which is the subject of our camera strap compatibility guide.
Four things not to do
An open split ring is the failure I see most often. The ring looks closed from above because the gap faces the camera. Rotate it and look at the join from the side. If you can see daylight between the tail and the body of the ring, it is not on.
A twisted cord is less dramatic and more annoying. The strap sits at an angle across your chest, the camera hangs face out instead of face in, and the lens takes the corner of every doorway. Untwist it before you tighten the lark's head, not after.
An unbuttoned tab is a slow failure. The band creeps a quarter inch at a time over a whole afternoon, and you notice when the camera is suddenly hanging lower on one side. Snaps make a sound when they engage. Listen for it.
professional photography insurance claims that came from accidental damage, not theft
— Towergate Insurance records, via Digital Camera World, 2014
Accidental damage sits far ahead of theft in claim files. That is the case for spending thirty seconds on the attachment rather than five.
The thirty second check before you walk away
I run this every time I change a strap, and I run it again the first morning of any multi day job. It has caught two rings that were not fully seated and one tab I had left open while distracted. None of those would have shown up in a gentle test.
What buyers actually mention. Across the 119 written buyer reviews (July 2026), 10 buyers brought up how easy the strap was to fit and adjust without being asked about it, and 67 mentioned build quality or sturdiness. Nobody complained that the mounting kit was missing pieces.
photos taken worldwide in 2025, of which about 94% came from a phone
— Photutorial, via PetaPixel, 2025
Almost every picture made on earth now comes from a phone. Carrying a real camera is a deliberate act, and the strap is the piece of hardware that decides whether the camera comes with you or stays in the bag. That is the whole argument for getting this right.
Short answers
Can I put a camera strap on without removing the lens?
Which way should the strap face when it is attached?
Do I need both attachment points on the body?
If you want the removable version of all this, the quick release explainer covers what the ring system does and where it needs watching. For the difference between neck, wrist and harness carry, read the honest comparison. Buyer feedback sits on the reviews page. More guides are listed on the blog index, and the full range is on the Camstrand home page.
Straps for specific carry positions have their own pages: the neck strap, the shoulder and crossbody strap, and the braided rope strap. You can also read about the people behind Camstrand on the about page.